
How it works
Launch a business page in minutes.
Follow a simple five-step flow to publish your page, connect your services, and start getting paid.
Step 01
Sign up in minutes
Create your Swipe account and choose the plan that fits your stage. No setup fees, no contracts.

Step 02
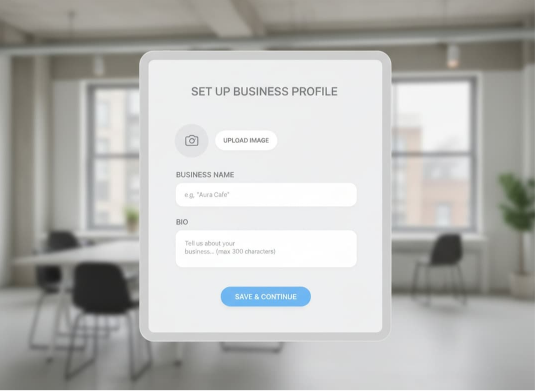
Set up your profile
Add your bio, services, pricing, and contact details so clients can understand your offer fast.
Step 03
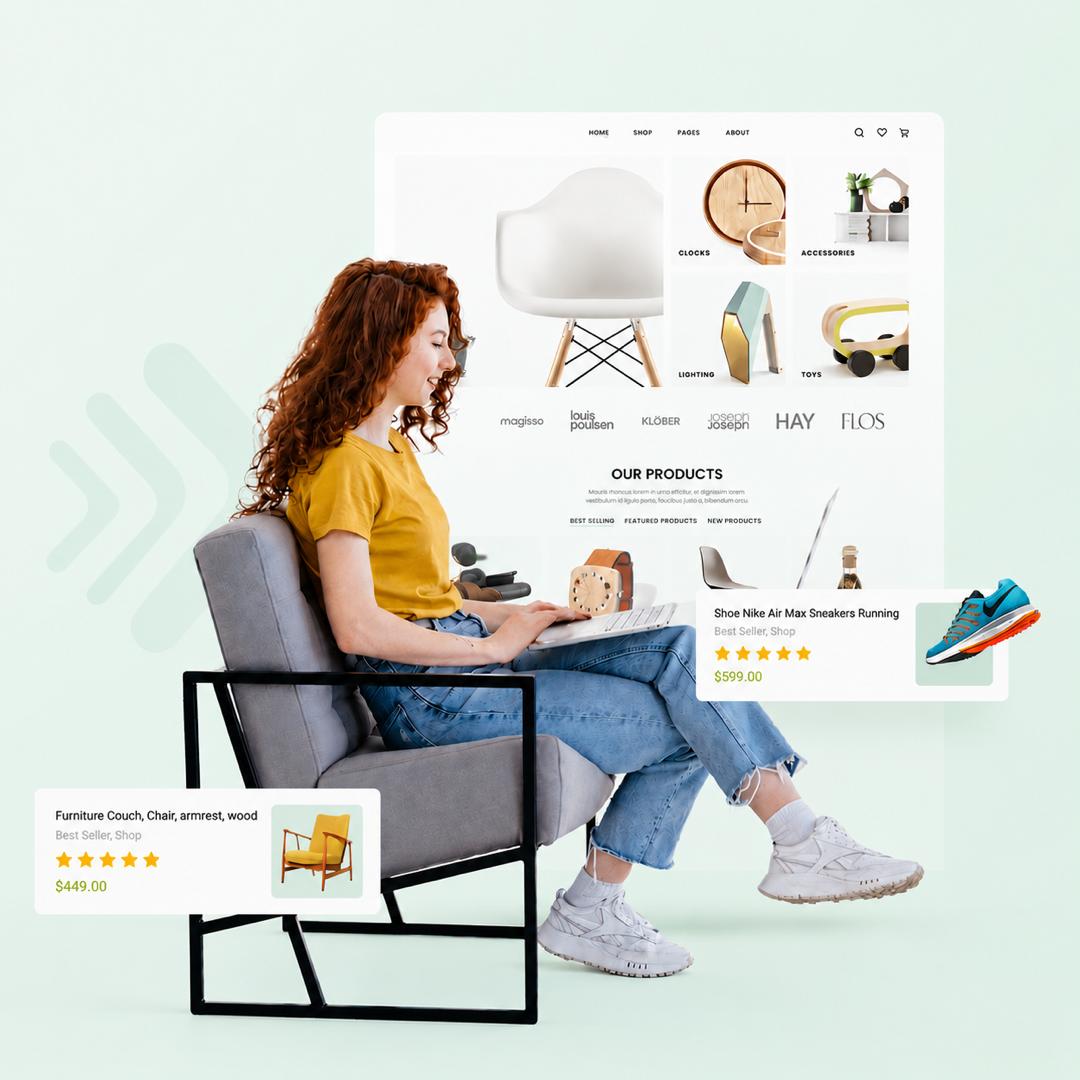
Add the sections you need
Turn on the blocks that matter: services, products, FAQs, galleries, booking links, and more.
Step 04
Publish and share
Go live with a clean Swipe link, then share it across social channels, WhatsApp, and email.

Step 05
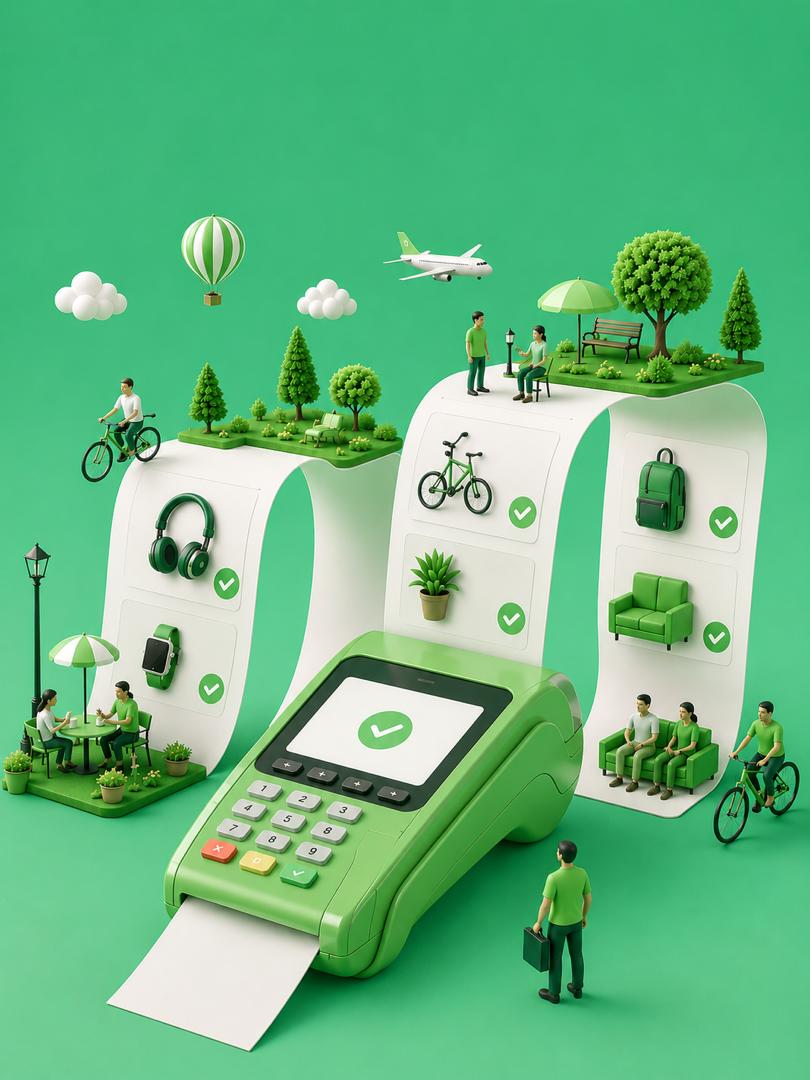
Get paid and track growth
Collect payments, manage bookings, and view analytics from one dashboard as your business grows.
Frequently asked questions
Everything you need to know about the product and billing.
Can I use my own custom domain?
Every Swipe page gets a clean public URL at swipe.ltd/your-name — yours to share immediately. Custom domain support is on our roadmap and coming soon.
Do I need to know how to code?
Not at all. Swipe is designed specifically for non-technical users. If you can fill out a form and upload an image, you can build a beautiful business page with our platform.
Is there a free tier?
Yes. The free tier lets you build and publish your page at your own swipe.ltd/username link. You get up to 5 services and products, 3 social links, and the core page sections. Upgrade to Pro when you need more.
How do I get paid for my services?
Swipe supports Mobile Money payments (MTN MoMo, Vodafone Cash, AirtelTigo Money) powered by Paystack — the payment methods your customers already use. Payments land directly in your account. Swipe takes nothing extra on top of Paystack's standard transfer fee.
Your business page, live in minutes.
Be among the first professionals to build on Swipe. No code, no designer, no waiting.
No credit card required · Takes less than 5 minutes